
CONTENT
Setup in Visma Business
Bank Partner
Setup in Aritma Pay
Create new profile
Add export (file to bank)
Set up format
Add import (file from bank)
Setup in Visma Business
Bank Partner
To send payments, you must configure a bank partner in Visma Business.
The Bank Partner table can be opened from Explorer → Tables → Accounting → Payment Processing → Bank Partner.
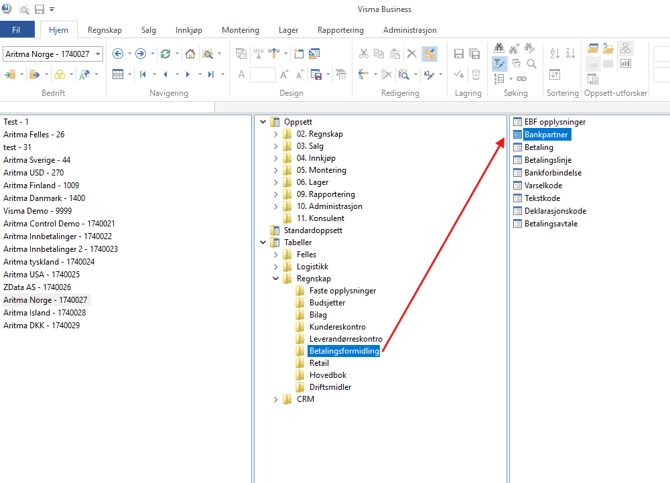
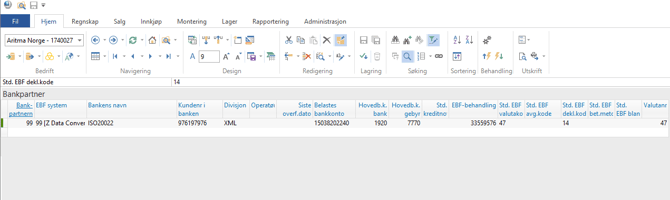
For Aritma Pay to be used, you must set the EBF system to ZData Converter, and under EBF processing check the box for “Use database connection for ZData”. We also recommend checking “Generate batch/voucher lines for settlement from EBF system”.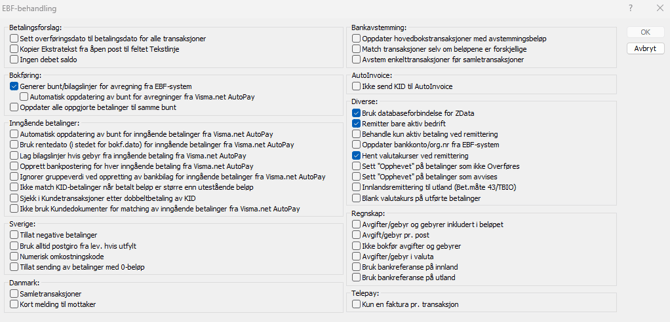
If you have international payments, you should also fill in “Standard EBF declaration code” and “Declaration text.” In Norway, transfers abroad greater than 100,000 NOK must be reported to the currency register. This is done using declaration codes in the payment. In Norway, the declaration code is a two-digit number that specifies the type of transaction, for example 14 for purchase and sale of goods.
The remaining fields should be filled in with information from the bank and accounting system.
Create a bank partner per account from which remittances will be made. If you have many currency accounts, you can instead use the currency table to control which account the payments should be drawn from. See the explanation here.
Setup in Aritma Pay
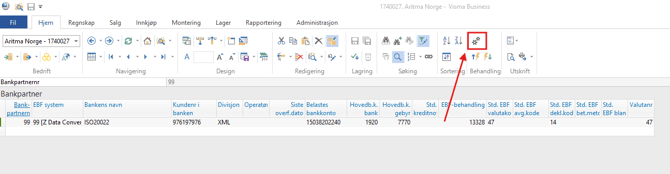
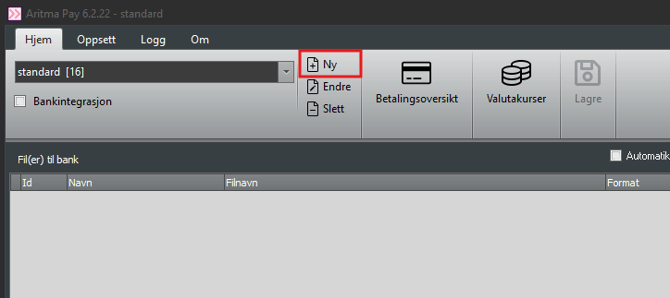
Select the bank partner in Visma. Go to “EBF system setup” by clicking the following icon:

Create a new profile by clicking: "Ny"
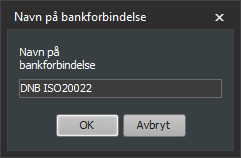
Enter the desired name for the bank connection.
Add export (file to bank)
Select “Add export” by clicking the following icon:
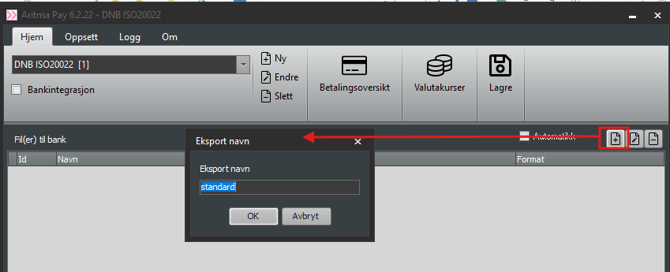
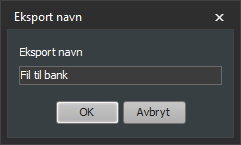
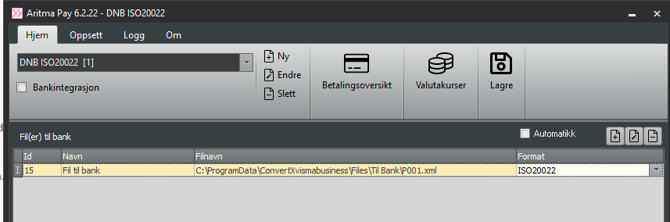
Enter the desired export name.
Filename: Enter the location where the files should be stored, along with the name of the file.
Note: It is important that all users who will use Aritma Pay for remittance have read and write access to this file area. If you are using bank integration, it is also essential to use UNC paths in the file path, and ensure that the service user for ZData Workflow Service has access to the file area.
Format: Select the format in which the remittance file should be saved.
We generally recommend ISO20022, which is the new EU standard supported by most banks. This also makes it easier to switch to bank integration for automatic sending to the bank. If you are using ISO20022, the filename must be P001.xml.
Set up format
Highlight the line for the remittance file and select “Edit export” by clicking the following icon:
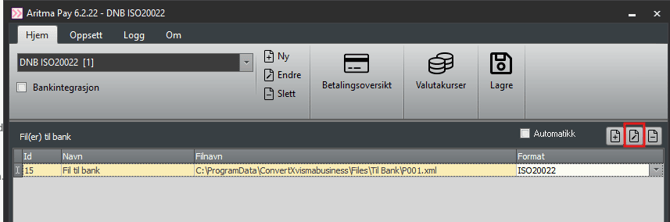
Fill in the parameters. A detailed guide on how to complete the ISO20022 parameters can be found here.

Add import (file from bank)
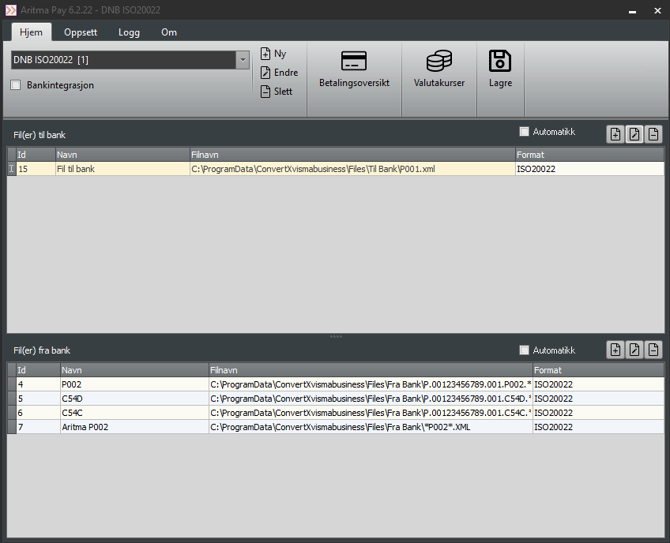
Import of receipt and settlement files is set up in the same profile as the payment file. If you also have incoming payments, they can be added here as well.
Click the plus symbol under File(s) from bank to create a new import line.
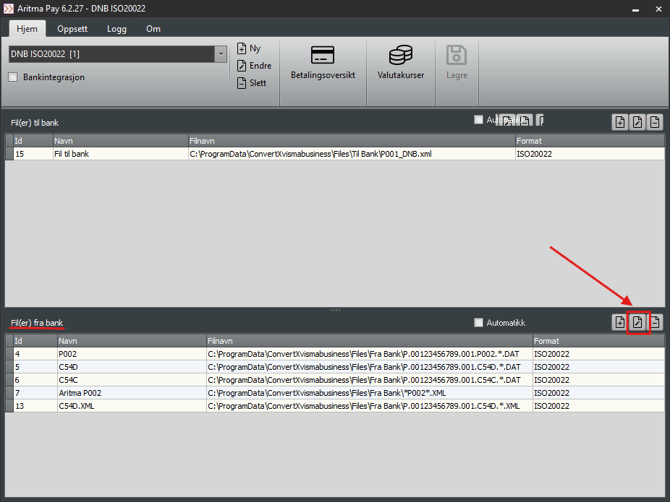
Create an import line for each file type (receipt, settlement, etc.) and enter a name (see illustration below).
Filename: Enter the directory where the files from the bank are stored, along with the file name.
If the files from the bank contain a sequence number that changes, you can replace it with an asterisk (*) in the setup.
If you are using bank integration, you can see her
to determine the names of the files from the bank and how to configure the filter for import.
Note: The filter must always include a file extension (e.g., *.dat or *.xml). If the file has no extension, you can use *. (asterisk and period). After the files are imported, the extension will change to .b~1.
Format: Select the format of the files from the bank. Alternatively, you can use autodetect, but we recommend specifying the format if known.
More information on how to set up incoming payments can be found here.