
Setting up Aritma Pay for Visma Business with Adecco’s TIS Payment System
This article describes how to configure Aritma Pay for Visma Business to send payments and receive return files from Adecco’s TIS payment system. This system is an alternative to Aritma’s bank integration and is maintained by the Adecco Group. The article assumes prior knowledge of general Aritma Pay usage.
Payments
-
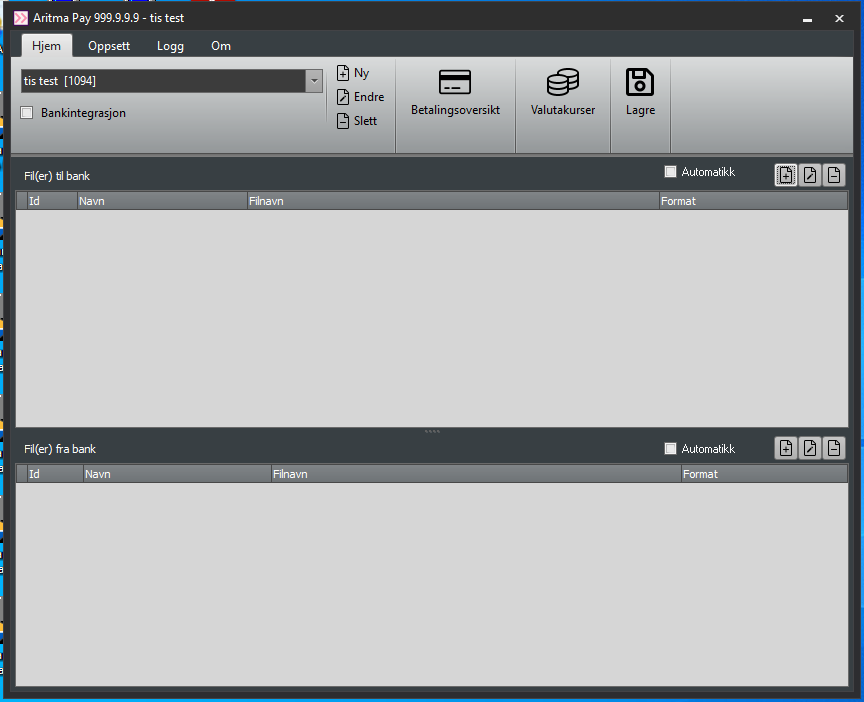
To get started, create a new profile in Aritma Pay.
Add a new line under Files to bank. Select ISO20022 as the payment format. Edit the parameters and configure them with the help of your provider or our support team if needed.
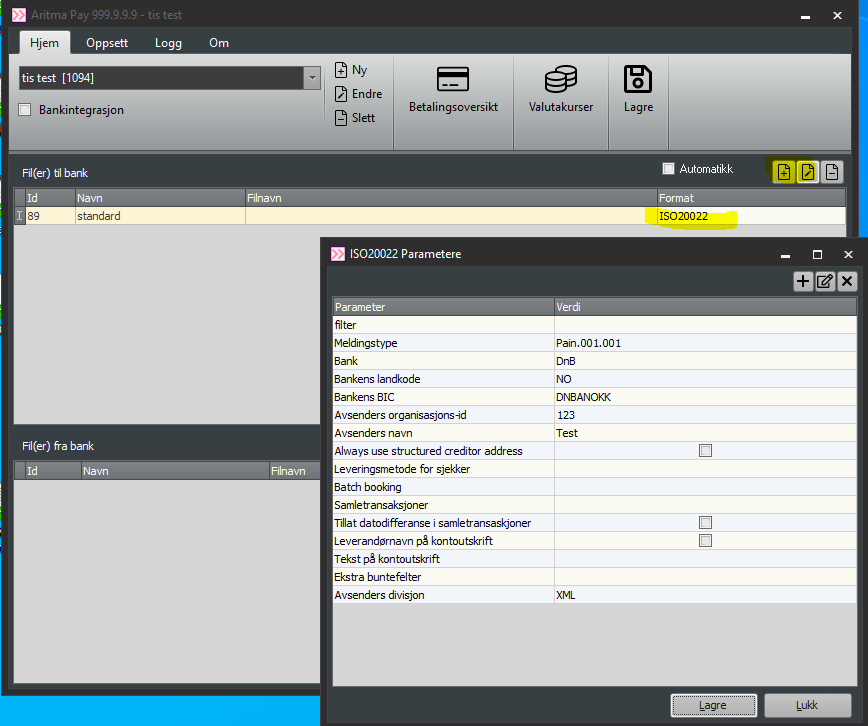
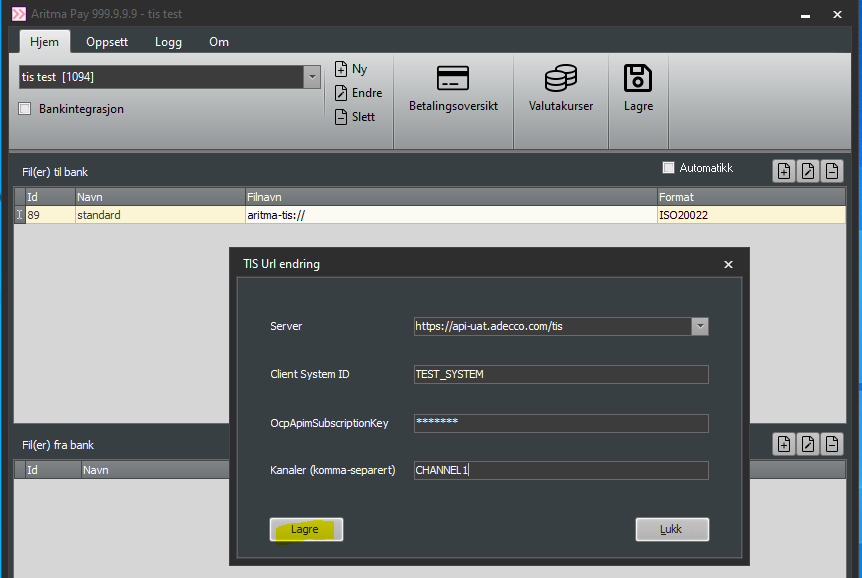
In the Filename field, enter: aritma-tis://
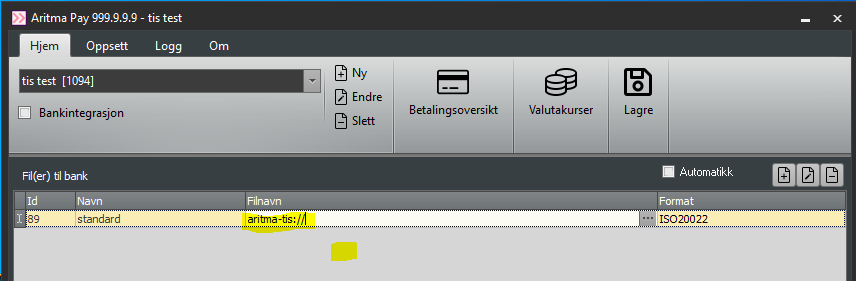
Click the button with three dots to the right of the filename.
A new window will open. Here you must enter the settings you received from Adecco.
-
First, select Server. You can type anything here. The dropdown menu will display the two servers Adecco typically uses:
-
api-uat= demo server -
api(without “uat”) = production server
-
-
If neither works, contact Aritma Support for troubleshooting.
-
Use
api(without “uat”) when sending files to the bank in production.
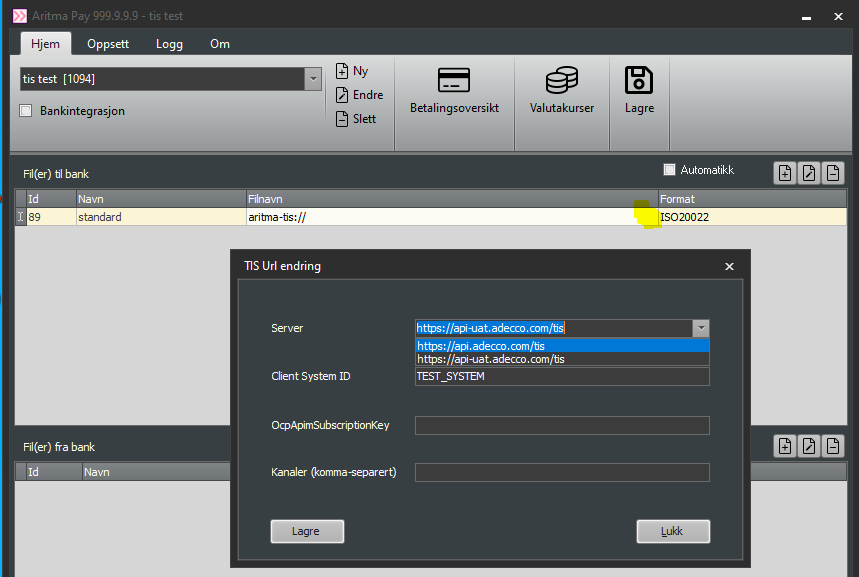
Enter the rest of the information provided by Adecco and click Save. Note: only one channel should be used in this setup.
Incoming payments / return data
-
Next, set up incoming payments and return data from TIS. Add a line in the lower section of the main window (Files from bank).
-
Keep the format as Autodetect.
-
Enter
aritma-tis://in the filename field. -
Click the button with the three dots.
-
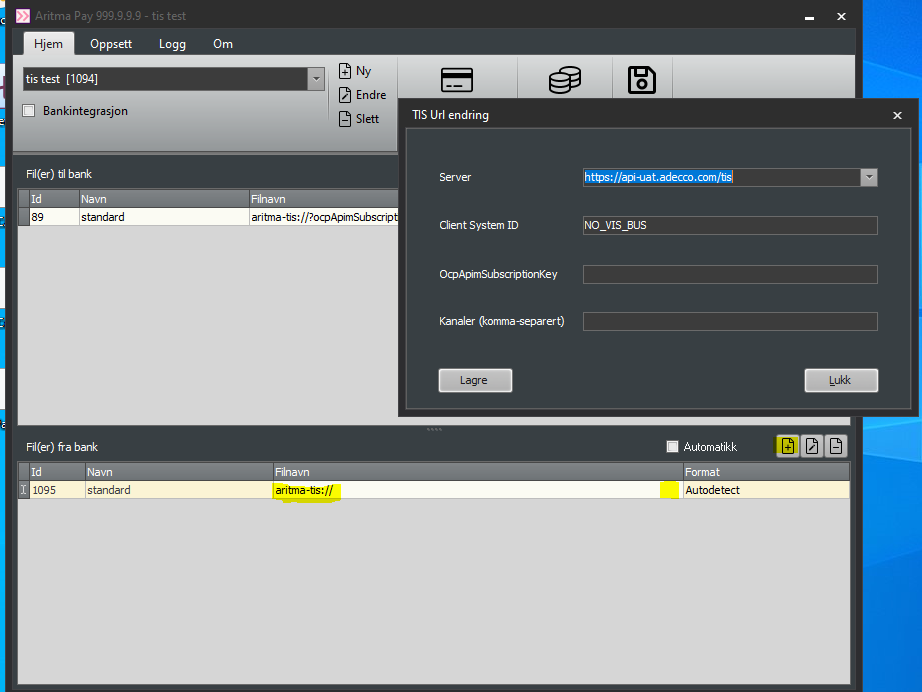
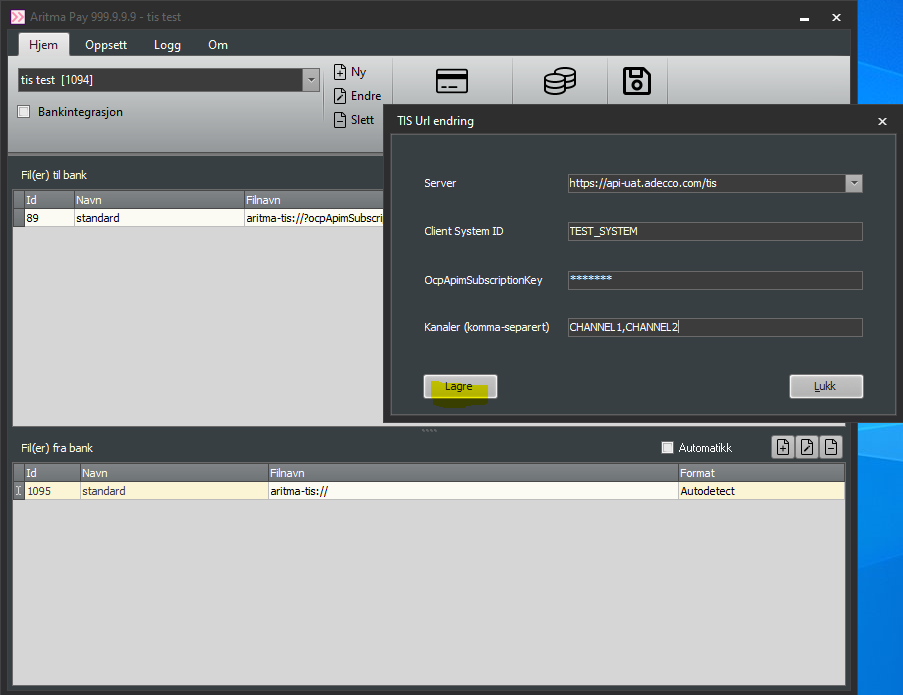
Fill out the window with the same information as before, with one exception:
-
-
Select the correct channels specified by Adecco. Usually, incoming payments use one channel, and return data another.
-
Click Save. The setup is now complete.
-
FAQ
What if I have multiple “Client System ID” values?
You can create a new profile for each Client System ID, using the same setup as before but with a different Client System ID.
Tip: you can copy the Filename field to another profile to make this easier!